Toy Organization
Toys are awesome! But, when they clutter your space and are a pain to put away they can cramp a home’s style and functionality. We’ve been living with toys for 15 years now. Here are some solutions that have worked really well for us, along with some other ideas. If you have more, please share in the comment section below!
Stuffed Animals
Stuffed animals are adorable, but can also take up a lot of space. The favorite(s) can be kept on your child’s bed for cuddling. Others can be kept for playtime in areas such as these…
Our stuffed animal storage doubles as bean bag chairs, for when the boys read or play video games. These offer a TON of storage for stuffies, blankets, pillows, etc. AND you can wash them easily! They come in a variety of sizes, colors, and designs.
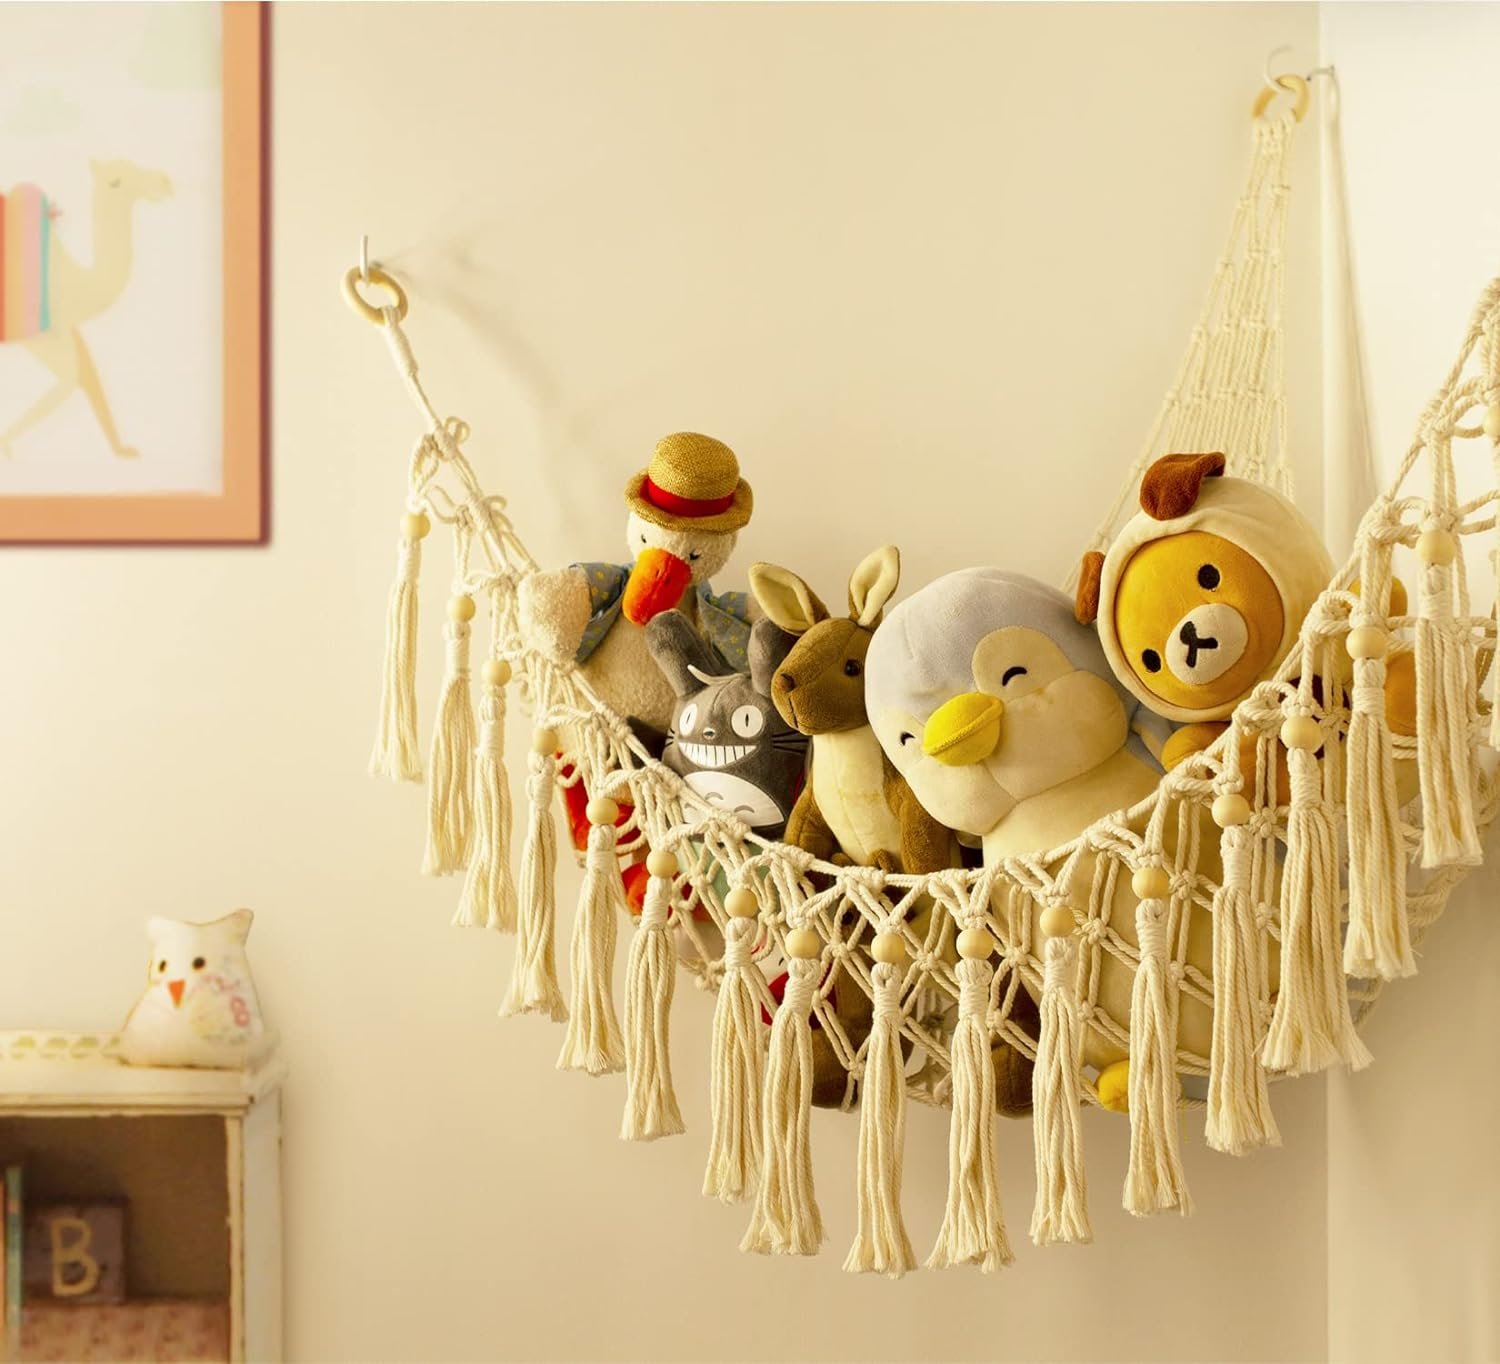
To display the stuffed animals in a fun way, check out this adorable hammock which includes LED lights for added ambiance.
The tried-and-true ‘toy box’ is also a great, functional solution. There are a ton of options out there. With a toy box, kids have easy access to their stash and if the box has a top, everything can be kept neat and tidy inside. This one collapses flat and can be used for other household items once the stuffed animals have fled the home.
Board Games and Puzzles
Games and puzzles can be stored inside pretty baskets on shelves, within cabinet drawers, or inside closets. Ours are hidden in a rattan chest and in a sideboard located in our living room, which is where they are typically played.
This piece was from Ikea, but is unfortunately discontinued. However, stores like Walmart, Potterybarn, and others sell similar chests and baskets. You may also find some nice vintage ones on Etsy, or in thrift and antique shops.
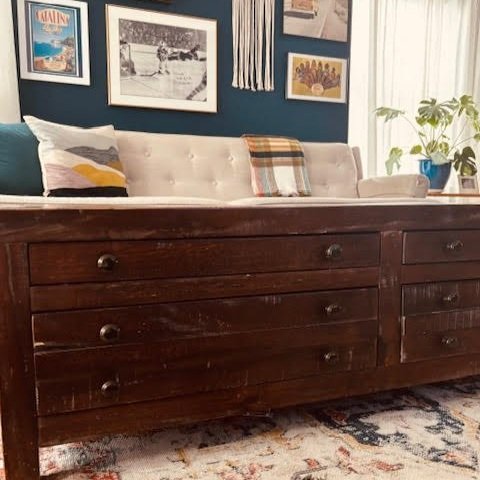
You can also hide games, puzzles, craft supplies, coloring books and more in sofa tables and sideboards. The sideboard shown below is from All Modern.
LEGOs
LEGOs are often played on the living room coffee table, so what better place to keep them than inside the table itself. If you have drawers in your table, the pieces can be swept right into the table for easy clean up!
If you don’t have built-in drawers, you can purchase baskets with wheels to go underneath the coffee table you already have. Tip: you can DIY these at a lesser expense by adding thin plywood and wheels to the bottom of different baskets of your choice.
What to do with toys that are no longer used
It can be a bit nostalgic giving up beloved toys. If there is something that is really special and won’t take up much room, then feel free to keep it. Perhaps you have something that can possibly be used by the next generation. For us, that toy is the boys’ Thomas the Train set, which is now in a milk crate in our attic. We’ll likely hold on to some LEGOs too. No one is too old for LEGOs, right?
The toys you are not holding on to can be sold at a yard sale or donated to a thrift store, like Savers. Some awesome charities that accept toy donations include Second Chance Toys, Cradles to Crayons (new and gently-used), Toys for Tots (new toys only) and Stuffed Animals for Emergencies (SAFE). Local schools, churches, temples, shelters, libraries and hospitals may also benefit from the items you no longer have a use for.
If pieces are missing or broken, it is best to toss them in the trash or recycling bin. Just make sure to always remove the batteries and recycle them properly.
I recommend purging toys every few years so you don’t end up with a major project once your kids have outgrown them all. Until then, enjoy family game nights and play time! They will be a fun and memorable part of your kids’ childhood.
How to create a gallery wall
Gallery Wall Design
Do you have a blank or boring wall in your home that needs some love? Here are some tips for creating a gallery wall…
CHOOSING ITEMS TO DISPLAY
It is always best to use pieces that are personal. For example:
Photographs taken by yourself or someone close to you
Photographs of family and friends
Photographs, travel posters, paintings, or maps of places that have meaning to you
Art that you’ve created or collected
Things that show your musical interests, like framed concert posters or album covers
3-dimensional or textured objects help add visual interest to the composition. Shown in the photo below is a gallery wall that includes a macrame hanging that I made with a group of friends. Here are some other ideas for adding character and depth to your wall:
@sarahlabrieinteriors
Banners or flags
Hanging plants
An article of clothing on a wooden hanger (such as a vintage bathing suit at a beach house, or a sports jersey in a rec room/man cave)
A shelf with framed art, or collectibles
A musical instrument
Sports equipment, like a racket or a ski
A wood or metal sculptural piece
Most importantly, choose items that make you happy and are a reflection of you and those that live there.
HANGING TIPS
After you’ve selected the objects you want to display, cut out newspaper or cardboard to the same size. Label each cut-out so you know which goes with which art piece. Arrange the paper on your wall with blue painter’s tape.
The arrangement can be very symmetrical, or a complete mish mosh. However, the best gallery walls have visual interest and flow and follow a few rules of thumb...
@sarahlabrieinteriors
IF the display is over a console table or sofa, hang it so that the lowest piece is about 10 inches above the sofa.
IF the display is on a blank wall with no furniture, hang it so that the center of the gallery is approximately 60 inches/5’ from the floor.
If working with few items of different sizes or shapes, an odd number is usually most pleasing to the eye (3, 5, or 7 pieces). If working with few items that are the same size or shape, an even number is okay. For example six 8x10 photo frames, arranged three over three.
Stagger pieces anywhere between 2” to 5” apart.
DO NOT go too small with the items, as compared to the wall, or the furniture underneath. For example, if you have 5x7 photos as part of the gallery, consider framing them in an 8x10 frame with a mat.
Play around with the design. Once you have the most visually appealing composition, you are ready to PLACE THE OBJECTS:
For lighter weight objects, I highly recommend 3M Command Strips. They work really well, and don’t leave any marks in/on your walls. Plus, if you end up wanting to move something around after it is placed, it is easy to do! You can buy these at any hardware store or here: 3M Command Strips on Amazon
For heavy objects going into a stud, use a nail or screw. For heavy objects installed in just drywall (or non-studded area), use an anchor and screw.
Use a small level on top of each flat piece to ensure nothing hangs lopsided.
If available, tie the colors of the gallery into other objects in the room, or vice versa. (Notice the throw and pillow on the sofa in the first photo.)
Lastly, if you would like help creating a gallery wall in your home, please feel free to contact me. I can help source artwork, design the best arrangement and install the gallery.
You may have pieces already in your home that you’ve been wanting to display. I’m happy to help!
Email: sarahmaclabrie@gmail.com
Phone/Text: (508)320-4635


